How to Set Up Xero for a New Business: Complete Beginner’s Guide (2026)
Starting a new business comes with countless responsibilities, and managing your finances correctly from day one is one of the most important. Many entrepreneurs make the mistake of waiting until tax season to organize their books, only to discover missing transactions, inaccurate records, and unnecessary stress.
That’s where Xero comes in.
Xero has become one of the most popular cloud accounting platforms for startups, freelancers, and small businesses because it combines powerful accounting tools with an easy-to-use interface. Whether you’re launching an online store, consulting business, agency, local service company, or startup, setting up Xero correctly from the beginning can save you hours of manual work every month.
In this step-by-step guide, you’ll learn exactly how to set up Xero for a new business, avoid common mistakes, and create a solid accounting foundation for long-term growth.
Why Use Xero for a New Business?
Before diving into the setup process, it’s important to understand why so many business owners choose Xero.
Xero helps businesses:
- Manage invoices and payments
- Track expenses
- Reconcile bank transactions
- Monitor cash flow
- Generate financial reports
- Collaborate with accountants
- Automate bookkeeping tasks
- Manage multiple users
Unlike traditional accounting software, Xero stores your data securely in the cloud, allowing you to access your finances from anywhere.
For new business owners, this means less time spent on bookkeeping and more time focused on growth.
Step 1: Create Your Xero Account
The first step is creating your Xero account.
Visit Xero’s website and sign up for a free trial.
During registration, you’ll be asked to provide:
- Name
- Email address
- Password
- Business location
After confirming your email address, you’ll gain access to the Xero dashboard.
If you’re completely new to accounting software, don’t worry. Xero’s interface is designed to be beginner-friendly and easy to navigate.
Step 2: Add Your Business Information
Once your account is active, it’s time to enter your business details.
Navigate to:
Settings → Organisation Settings
You’ll need to provide:
- Business name
- Legal entity name
- Business address
- Phone number
- Tax information
- Financial year-end date
Accurate business information ensures that invoices, reports, and tax records are generated correctly.
Take a few extra minutes here to double-check every detail.
Step 3: Choose the Right Chart of Accounts
One of the most important parts of setting up Xero is configuring your Chart of Accounts.
The Chart of Accounts is essentially a list of categories that organize your financial transactions.
Examples include:
Assets
- Bank accounts
- Cash
- Inventory
- Equipment
Liabilities
- Loans
- Credit cards
- Taxes payable
Income
- Sales revenue
- Service income
Expenses
- Advertising
- Rent
- Utilities
- Software subscriptions
Xero includes a default Chart of Accounts that works for most businesses.
However, you can customize it to better match your industry and business model.
A well-structured Chart of Accounts makes reporting much easier later.
Step 4: Connect Your Business Bank Account
One of Xero’s most powerful features is bank feeds.
Connecting your bank account allows transactions to automatically flow into Xero.
To connect a bank account:
- Go to Accounting
- Select Bank Accounts
- Click Add Bank Account
- Search for your bank
- Follow the connection instructions
Once connected, Xero will automatically import transactions, reducing manual data entry.
This single feature can save business owners several hours each month.
Step 5: Set Up Bank Rules
After connecting your bank account, you’ll want to create bank rules.
Bank rules automate transaction categorization.
For example:
Whenever a payment goes to:
- Google Ads → Advertising Expense
- Microsoft → Software Expense
- Internet Provider → Utilities Expense
Xero can automatically categorize these transactions.
Benefits include:
- Faster bookkeeping
- Fewer errors
- Cleaner financial records
This is one of the easiest ways to automate accounting tasks from the beginning.
Step 6: Configure Your Tax Settings
Proper tax setup is critical for compliance and accurate reporting.
Go to:
Settings → Tax Rates
Depending on your country, you’ll configure:
- VAT
- GST
- Sales tax
- Other local tax requirements
Selecting the correct tax rates ensures:
- Accurate invoices
- Proper expense tracking
- Reliable tax reports
If you’re unsure which tax settings apply to your business, consult your accountant before proceeding.
Getting tax settings right at the beginning prevents headaches later.
Step 7: Create Your Invoice Template
Professional invoices help businesses get paid faster.
Xero allows you to customize invoice templates with:
- Business logo
- Brand colors
- Contact details
- Payment instructions
- Terms and conditions
To customize invoices:
- Go to Business Settings
- Select Invoice Settings
- Upload your logo
- Edit invoice design
A professional invoice not only looks better but also improves credibility with clients.
Step 8: Add Customers and Suppliers
Next, add your contacts.
Contacts typically fall into two categories:
Customers
People or businesses who pay you.
Suppliers
Companies you pay for products or services.
Adding contacts allows Xero to:
- Track invoices
- Monitor payment history
- Manage bills
- Improve reporting accuracy
Over time, this creates a valuable database of your business relationships.
Step 9: Import Existing Financial Data
If your business already exists, you may need to import historical records.
Common imports include:
- Customers
- Suppliers
- Products
- Bank transactions
- Outstanding invoices
Xero supports CSV imports, making migration relatively straightforward.
If you’re moving from another accounting platform, importing historical data ensures continuity and accurate reporting.
Step 10: Set Up Expense Tracking
Every business incurs expenses.
Tracking them properly is essential for profitability and tax deductions.
Examples include:
- Office supplies
- Advertising
- Travel
- Software subscriptions
- Professional services
Xero allows you to:
- Upload receipts
- Categorize expenses
- Match expenses to bank transactions
- Monitor spending trends
The earlier you establish a habit of recording expenses, the easier bookkeeping becomes.
Step 11: Configure User Permissions
As your business grows, multiple people may need access to Xero.
Examples include:
- Accountants
- Bookkeepers
- Business partners
- Office managers
Xero allows you to assign specific permissions to each user.
For example:
- View-only access
- Invoice management
- Payroll access
- Full administrator access
Proper permissions improve security while enabling collaboration.
Step 12: Set Up Products and Services
If you sell products or recurring services, creating inventory items can save significant time.
Each item can include:
- Name
- Description
- Sales price
- Tax rate
- Cost information
Benefits include:
- Faster invoicing
- Better inventory tracking
- Improved reporting
This is especially useful for e-commerce businesses and agencies with standardized services.
Step 13: Enable Online Payments
The easier it is for customers to pay, the faster you’ll receive money.
Xero integrates with popular payment providers such as:
- Stripe
- PayPal
- GoCardless
Adding payment options directly to invoices reduces friction and often improves payment speed.
Many businesses notice a measurable improvement in cash flow after enabling online payments.
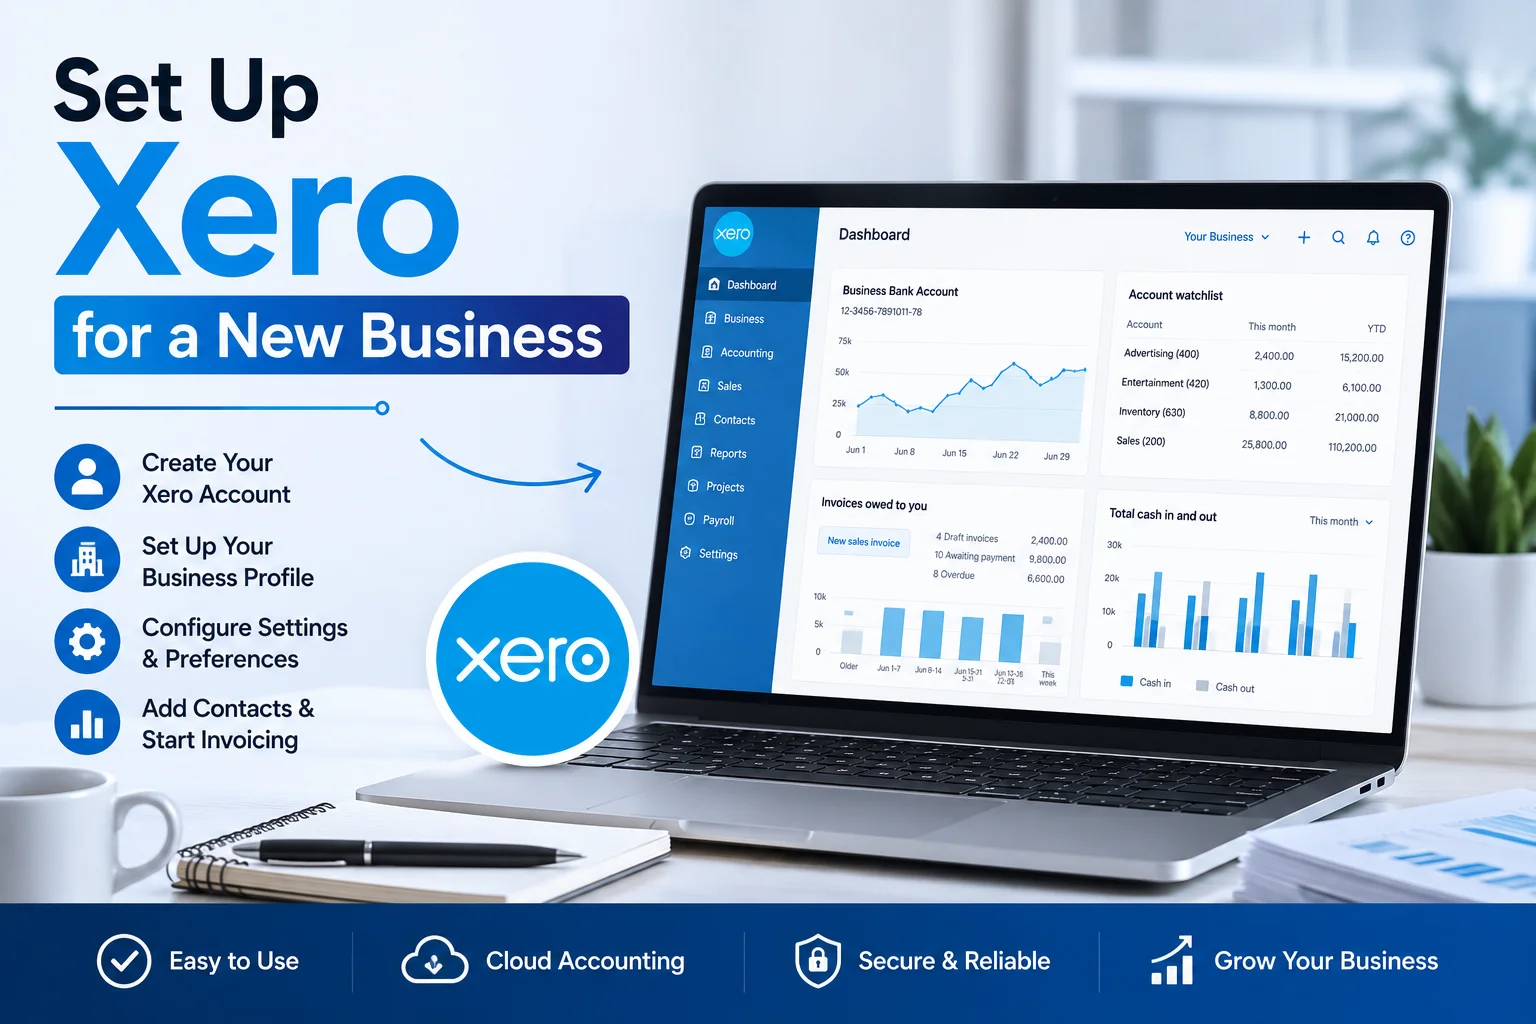
Step 14: Review Your Financial Dashboard
Before moving forward, spend time exploring your dashboard.
The dashboard provides insights into:
- Bank balances
- Outstanding invoices
- Upcoming bills
- Cash flow
- Financial performance
Learning how to read this information early helps you make smarter business decisions.
Many business owners underestimate how valuable real-time financial visibility can be.
Common Mistakes New Xero Users Make
Even though Xero is user-friendly, beginners often make avoidable mistakes.
Not Connecting Bank Feeds
Manual transaction entry wastes time and increases errors.
Ignoring Bank Reconciliation
Unreconciled transactions can lead to inaccurate financial reports.
Poor Expense Categorization
Incorrect categories create reporting problems later.
Delaying Bookkeeping
Weekly bookkeeping is much easier than catching up months later.
Using Default Settings Without Review
Take time to customize your account based on your business needs.
Avoiding these mistakes can save significant time and frustration.
Best Practices for New Business Owners Using Xero
To get the most value from Xero:
Reconcile Transactions Weekly
Frequent reconciliation keeps records accurate.
Review Financial Reports Monthly
Monitor:
- Profit and loss
- Cash flow
- Expenses
- Revenue growth
Keep Receipts Organized
Upload receipts immediately when expenses occur.
Use Automation Wherever Possible
Leverage:
- Bank rules
- Recurring invoices
- Automated reminders
Work With an Accountant
An accountant can help optimize your setup and ensure compliance.
How Long Does It Take to Set Up Xero?
For most new businesses, initial setup takes between one and three hours.
The exact time depends on:
- Business complexity
- Number of bank accounts
- Existing financial records
- Tax requirements
Once configured properly, ongoing bookkeeping becomes much easier.
Think of setup as an investment that saves time every month afterward.
Final Thoughts
Setting up Xero correctly from the beginning can transform how you manage your business finances.
By connecting your bank accounts, organizing your Chart of Accounts, configuring taxes, creating invoices, and automating routine bookkeeping tasks, you’ll establish a financial system that supports growth rather than creating administrative headaches.
For startups, freelancers, and small businesses, Xero offers an excellent balance of ease of use, automation, reporting, and scalability.
The sooner you build good financial habits, the easier it becomes to manage cash flow, prepare for taxes, and make confident business decisions.
If you’re launching a new business in 2026, setting up Xero properly from day one is one of the smartest investments you can make in your company’s future.